


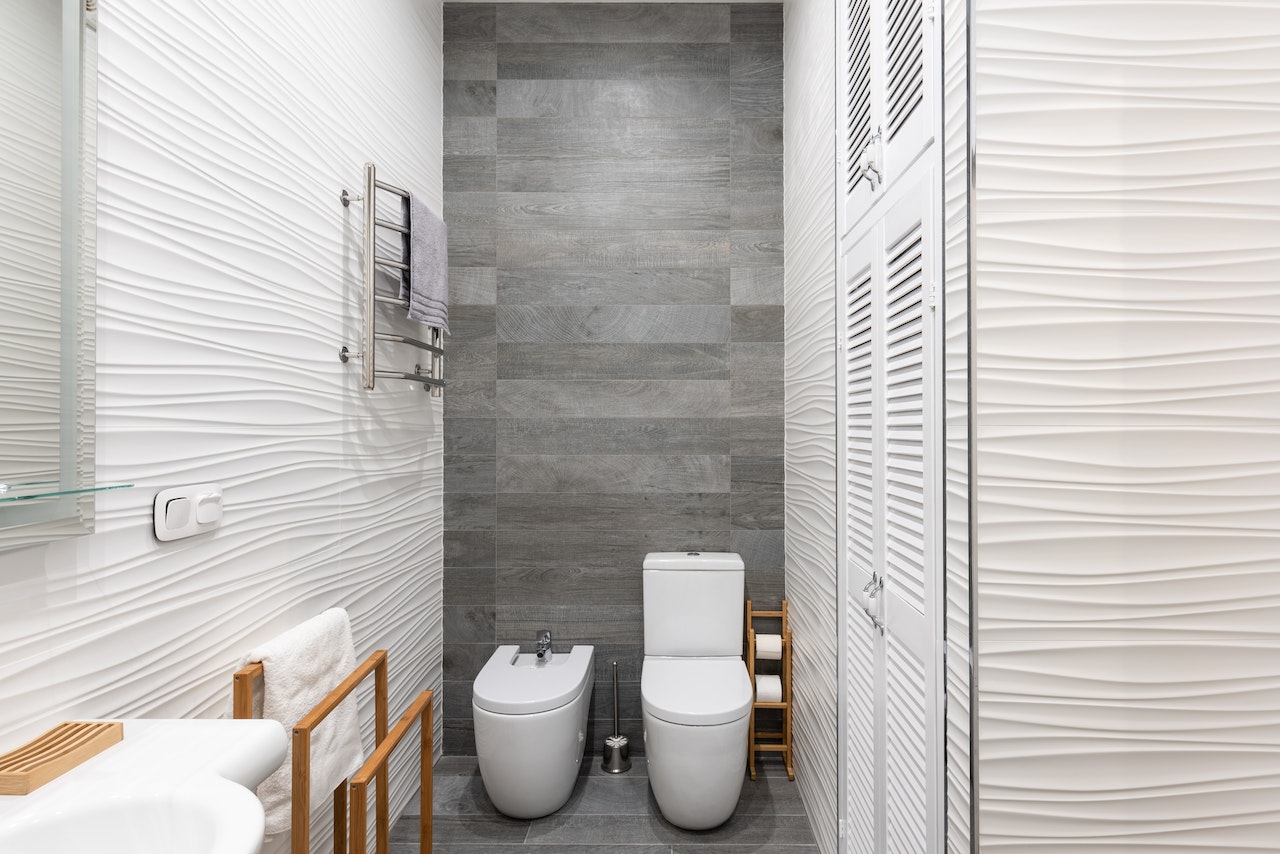
Install a Toilet Quick and Easy
Installing a toilet involves several steps. Here’s a general guide to help you with the process. Please note that it’s always a good idea to consult the specific instructions provided by the manufacturer of your toilet as they may have specific guidelines or variations.
Here’s how to install a toilet:
1. Gather the necessary tools and materials:
– New toilet
– Wax ring with sleeve (or alternative sealing ring)
– Adjustable wrench
– Screwdriver (if needed)
– Level
– Closet bolts with nuts
– Toilet tank bolts with gaskets and nuts
– Toilet seat (if not included with the toilet)
– Caulk (optional)
2. Prepare the area:
– Shut off the water supply to the existing toilet. You’ll typically find a shut-off valve on the water supply line located behind or near the toilet.
– Flush the toilet to drain the tank and bowl completely.
– Remove the old toilet by disconnecting the water supply line and unscrewing the nuts on the closet bolts at the base. Lift the toilet off the floor and remove any remaining wax or debris.
3. Install the new wax ring:
– Place the wax ring on the toilet flange (the pipe sticking up from the floor). The wax ring ensures a watertight seal between the toilet and the sewer pipe.
4. Position the new toilet:
– Carefully lower the toilet bowl onto the wax ring, aligning the closet bolts with the holes on the base of the toilet. Apply gentle pressure to compress the wax ring.
5. Secure the toilet:
– Place washers and nuts onto the closet bolts and tighten them alternately, making sure not to overtighten, as it may crack the toilet. Use a level to ensure the toilet is level and adjust as necessary.
6. Connect the water supply:
– Attach the water supply line to the fill valve located on the bottom of the toilet tank. Use an adjustable wrench to tighten the connection.
7. Install the toilet tank:
– If your toilet has a separate tank, follow the manufacturer’s instructions to attach it to the bowl. This typically involves placing the tank onto the bowl and securing it with tank bolts, gaskets, and nuts provided.
8. Adjust and test:
– Make sure the toilet is level and stable. Check that all connections are secure. Turn on the water supply and allow the tank to fill.
– Flush the toilet and check for any leaks around the base, supply line, or tank connections. If you notice any leaks, tighten the connections as needed.
9. Install the toilet seat:
– If the toilet seat is not already attached, follow the manufacturer’s instructions to install it securely.
10. Optional: Apply caulk:
– Apply a thin bead of caulk around the base of the toilet to provide a finished look and to prevent any water from seeping underneath. Be sure to leave a small gap at the back to allow water to escape in case of leaks.
Remember, if you’re unsure about any step or encounter any difficulties, it’s best to consult a professional plumber for assistance.
Also installing tile in your bathroom? Read our article on installing tile flooring.
