


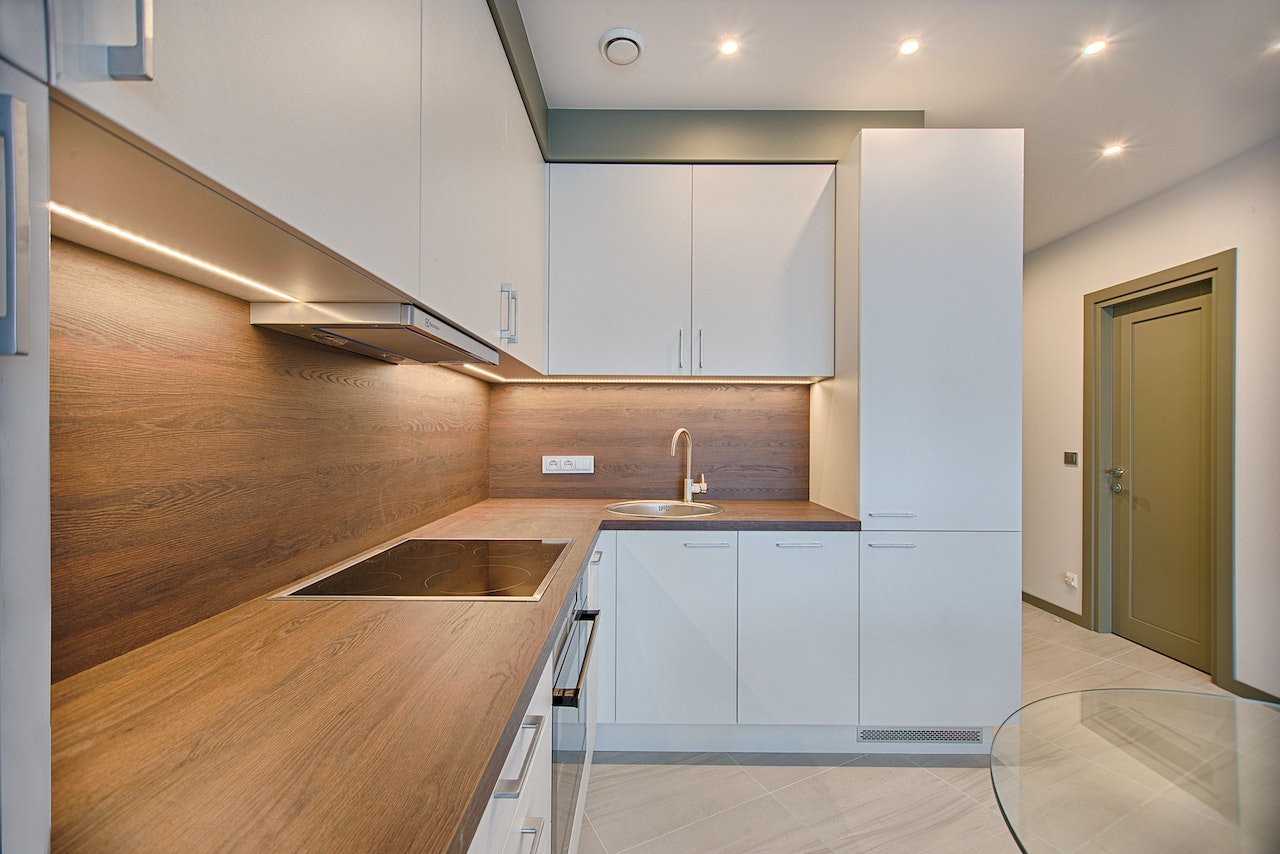
A Quick Guide To Installing Cabinets
Installing cabinets can be a complex process, but we will be providing you with a general step-by-step guide. Keep in mind that the process of installing cabinets can vary depending on the specific type and design of the cabinets you’re working with. It’s very important to read and follow the manufacturer’s instructions for your particular cabinets. Here’s a basic overview:
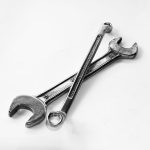
1. Gather the necessary tools and materials:
– Cabinets and hardware
– Measuring tape
– Level
– Stud finder
– Screws
– Drill
– Screwdriver
– Shims
– Pencil or marker
2. Plan and measure:
– Measure the height, width, and depth of your cabinets, taking into account any appliances or fixtures that need to fit underneath or alongside them.
– Use a pencil or marker to mark the layout of the cabinets on the wall, making sure to account for any gaps or overhangs.
3. Locate studs:
– Use a stud finder to locate the wall studs where you’ll be attaching the cabinets. Mark the stud locations with a pencil or masking tape.
4. Install a ledger board:
– A ledger board is a temporary support that helps hold the upper cabinets in place during installation.
– Use a level to draw a straight line along the top of the base cabinets. This line will act as a guide for the ledger board.
– Attach the ledger board to the wall using screws, aligning it with the line you drew. Make sure it’s level.
5. Install base cabinets:
– Begin with the corner cabinets and work your way outward.
– Set the cabinets in place, aligning them with the layout marks you made earlier.
– Use shims to level the cabinets, placing them under the base of each cabinet as needed.
– Secure the cabinets to the wall studs using screws through the back of the cabinet and into the wall studs. Make sure the screws are long enough to penetrate the studs securely.
6. Install wall cabinets:
– Start with the corner cabinets and work your way outward.
– Have someone assist you in lifting the cabinets and holding them in place while you attach them to the wall.
– Use a level to ensure the cabinets are plumb (vertically straight) and adjust them as needed.
– Secure the cabinets to the wall studs using screws through the back of the cabinet and into the wall studs.
7. Install additional cabinets and fillers:
– Install any remaining cabinets, following the same process as above.
– Use fillers to fill any gaps between cabinets or between cabinets and walls. Trim them to size if necessary and attach them securely.
8. Install cabinet doors, drawers, and hardware:
– Attach the doors and drawers to the cabinets according to the manufacturer’s instructions.
– Install any hardware, such as knobs or pulls, following the provided guidelines.
9. Make final adjustments:
– Check that all the cabinets are level and aligned properly.
– Make any necessary adjustments by loosening or tightening screws or shims.
Remember to consult the specific instructions provided by the cabinet manufacturer for any additional steps or details that may be required for installing cabinets. If you’re unsure or inexperienced, it’s highly recommended to seek the assistance of a professional installer.
Interested in other home improvement articles? Check out our guide to installing tile flooring or our guide to installing a toilet.
